If you’ve been following our shenanigans for any length of time, you probably know that Indigo Tree loves to experiment with new technology. We recently splashed out on an Amazon IoT Button and programmed it to send jokes to our team communication tool.
Here’s how it was done.
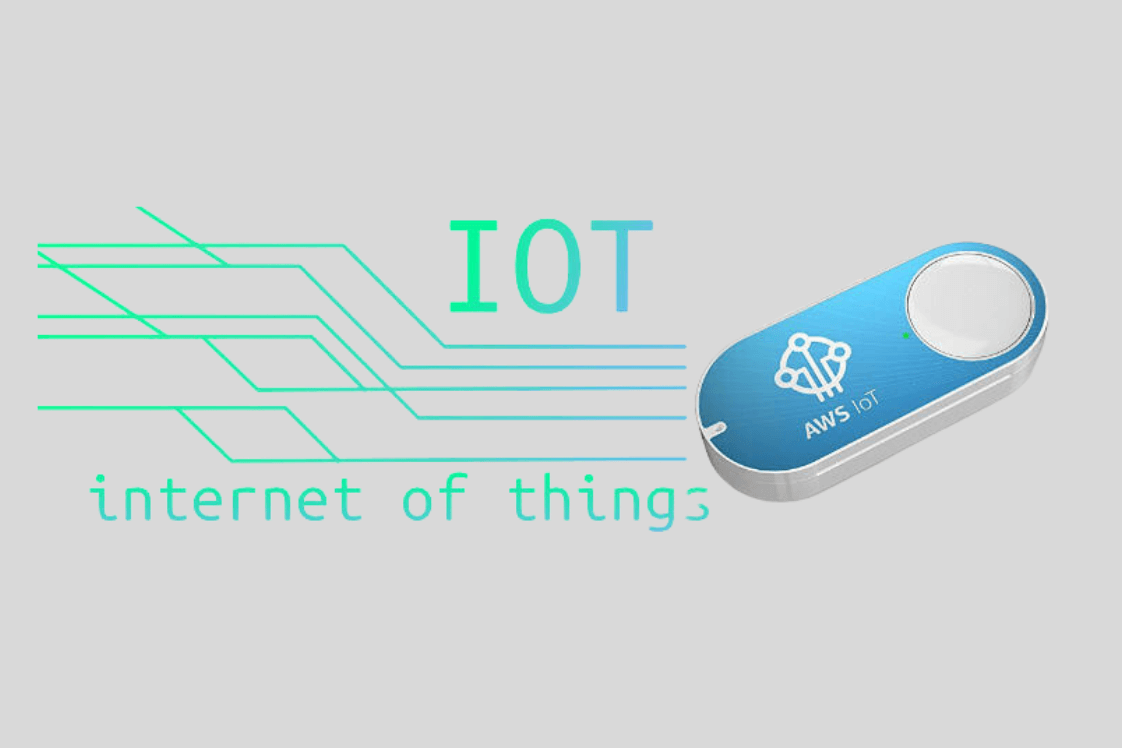
What is an IoT Button?
Amazon and other large online retailers have begun producing IoT buttons for a single purpose: to streamline product ordering.
For example, if an Amazon Prime customer is doing the laundry and realises they are low on fabric conditioner, they can simply press this button. This then communicates with the Amazon website, adds your favourite brand of conditioner to the basket, and checks out. You would receive your new bottle in a matter of hours, all without having to touch a computer or device.
This method is a straightforward way for Amazon to foster brand loyalty and simplify its customers’ lives.
However, you can also purchase an IoT (Internet of Things) button that you can program to perform specific tasks.
Setting Up the Button
When you receive the button, you can download an app to your smartphone to set up the wifi network. Once done, the button can communicate with the IoT section of Amazon Web Services.
Once these two are talking, you can connect them to AWS Lambda to configure your custom functionality.
What is AWS Lambda?
Lambda functions are code as a service. It’s great if you want to do something specific, but don’t want to (or can’t afford to) manage server infrastructure to do it.
Using AWS Lambda Functions with Node.js
You can use AWS Lambda functions to do almost anything, in a variety of languages! In our case, we used Server-Side JavaScript (Node.js) to query a joke API, which generates a random joke each time a user clicks the button.
We took this a little further by creating an array of employees’ names and randomly selecting from it, so that each joke is personalised.
Displaying the Joke on our Team Communication Tool
Like many tech teams, we use Slack to communicate easily without interrupting developer workflow.
Slack is a fantastically adaptable tool which allows you to send post requests to it using webhooks. Once we authorise our app, Slack can receive this data and add it to a common channel so that every team member (or just one, if you like) can see the joke!

The Result
We have cannily stuck the button just below our main light switch. Now, whenever someone passes by, we can spam our employees with random, Chuck Norris-themed messages!
What Can IoT Buttons Be Used For?
This application of an IoT button is pretty innocuous. You can configure the button to do almost anything … with the limitation of only one input: a button press.
So, whether you want to set it to order everything in your favourites list on Amazon (or any other store), send romantic messages to someone special, or be ready to call an emergency service with a prerecorded message, IoT buttons are a versatile and fun way to exercise your (or your team’s) coding skills!
What’s that? Would you like to see the code we wrote for this?
'use strict';

const https = require('https');

exports.handler = (event, context, callback) => {

    const names = [
        { first: 'David', last: 'Hewitt' },
        { first: 'Chris', last: 'Geary' },
        { first: 'David', last: 'Brophy' },
        { first: 'Ben', last: 'Read' },
        { first: 'Kerry', last: 'Pendlebery' },
        { first: 'Steve', last: 'Woodall' },
        { first: 'Emily', last: 'Tinkler' },
        { first: 'Louise', last: 'Towler' }
    ];

    function getRandomName() {
        var name = names[Math.floor(Math.random()*names.length)]
        return `firstName=${name.first}&lastName=${name.last}`
    }

    const jokeAPIOptions = {
        port: 443,
        hostname: 'api.icndb.com',
        path: `/jokes/random?${getRandomName()}&limitTo=[nerdy]`,
        method: 'GET'
    }

    const slackOptions = {
        port: 443,
        hostname: 'hooks.slack.com',
        path: 'redacted',
        method: 'POST',
        headers: { 'Content-Type': 'application/json' }
    }

    function sendJokeToSlack (joke) {

        if (Object.keys(joke).length === 0) {
            return
        }

        var slackMessage = JSON.stringify({
            'text': joke.value.joke,
            'username': 'Indigo Tree',
            'channel': '#general',
            'icon_emoji': ':joy:'
        })

        slackOptions.headers['Content-Length'] = Buffer.byteLength(slackMessage)

        var slackReq = https.request(slackOptions, (res) => {
            console.log(`slack response code ${res.statusCode}`)
        })

        slackReq.on('error', (e) => {
            console.log(`problem with request: ${e.message}`)
        })

        slackReq.write(slackMessage)

        slackReq.end()
    }

    const jokeReq = https.request(jokeAPIOptions, (res) => {
        console.log(`joke response code ${res.statusCode}`)

        if (res.statusCode !== 200) {
            console.log('error')
            return
        }

        var joke = {}

        res.on('data', (jokeBuffer) => {
            try {
                joke = JSON.parse(jokeBuffer.toString())
            } catch (e) {
                console.log(e)
                process.exit(1)
            }
        })

        res.on('end', () => sendJokeToSlack(joke))
    })

    jokeReq.on('error', (e) => {
        console.log(`problem with request: ${e.message}`)
    })

    jokeReq.end()
};